10 ways to update your home this Easter long weekend
1. Get planting
Samantha Turner, from Garden Elegance in Subiaco, said Easter was the perfect time to plant red geraniums for a spectacular display, mandevillas for climbing colour and pansies and violas for autumn/winter vibrant colour.
It was the time to plant sweet peas so that they bloomed by Anzac Day and also to prepare pots for spring-flowering bulbs. “Replace the potting mix and empty the pots on to your garden beds if they are not contaminated with pest or diseases . . . and replace with fresh potting mix, ideally bulb fibre because this is lighter and free draining, which helps prevent the bulbs from rotting.
“You can plant the pots with winter-flowering pansies and violas and then pop the bulbs in around the plants.”
 Plant geraniums. Picture: Mary Mills
2. Colour your world
Whether it’s walls, trims, furniture or accessories, paint is a sure-fire way to update in a weekend, according to Dulux colour expert Bree Leech.
“Whether it’s painting a room, a design accent on a feature wall or painting items of furniture, it’s easy to breathe new life into forgotten areas and create interest through the use of colour, ” she said.
Ms Leech said muted red tones such as Dulux’ Persimmon, Helena Rose and Diva Rouge were ideal to add autumn warmth, while Masters paint buyer David Ryan said pairing deeper, organic hues with trend accents was a great combination. Think earthy pinks, lobster, citrus and dusted turquoise mixed with warm greys and charcoal.
3. Timely tasks
1. Bunnings national hardware buyer John Campbell said now was the time to install new door and window seals before cooler temperatures, wind and debris became more apparent. “Draught-proofing can save money each year on energy bills as your house will use much less energy and run more efficiently, ” he said.
2. Transform the look of your home with new mouldings, skirtings and architraves, according to Masters timber and doors buyer Gavin Leigh. “The good news is, changing or adding mouldings can be done quickly and easily over a weekend and yield incredible results.”
3. Make sure your home is fitted with an effective smoke detector. Mr Campbell said battery-operated smoke detectors could be installed simply with a ladder, drill and screwdriver.
4. Fit a water-saving showerhead in recognition of today’s World Water Day. “This simple project is an easy way to reduce water use in the bathroom and save money on your bill, ” Bunnings national bathroom buyer Kristen Beer said.
 Nikles Pure 105 Eco shower. Picture: Reece
4. Step out on stylish paving
Paving is a great long-weekend project and celebrity landscaper Jason Hodges, from Better Homes and Gardens, suggested crating a stepping stone pathway.
The Brighton Masonry ambassador has these instructions:
• First, prepare the area. Start by removing all existing grass and vegetation from the space to be paved.
• Mark out the distance between the steps. Tip: make sure this is a comfortable stride for adults and children. Try walking on the path and marking where your feet land.
• In a wheelbarrow mix some sand and cement (a ratio of 6 parts sand to 1 of cement is a good start). Then add water to create a consistent, workable mix (it should have a creamy texture).
• With a shovel, place “blobs” of your sand and cement mix on the areas you have marked for paving. Spread the mix with a small trowel. Do this one paver at a time then repeat
• Place paver on to this pad and level off in both directions using a rubber mallet and level.
• With a small scrubbing brush and clean water, wipe any cement off the paver surface. Then allow to set dry for 48 hours.
• Finish the project by spreading pebbles around the stepping stones. You could pick a coloured stone to complement your paver. Hose down to get rid of any dust.

5. Make chooks at home
Building a basic chook pen is easy to do in a weekend and a project that’s fun for kids.
Carpenter/joiner Peter Stevens said the first step was to mark out a square area where the pen would sit, followed by digging a hole in each corner for treated-timber posts.
“While they’re still loose in the ground throw in a bit of dirt and then build a light frame around it with the desired top and bottom rail heights, ” he said. “Then level and square and then concrete it in. Enclose with chicken wire and pop a bit of cladding down the bottom to act as a windbreak.”
The size of the pen should be guided by the number and type of chickens. Check with your council about restrictions on chook pens, especially if a roof is planned.
6. Chalk it up for the kids
Fire up the kids’ creativity by applying blackboard paint to a wall, tabletop or toybox in their playroom or bedroom, says colour expert Bree Leech.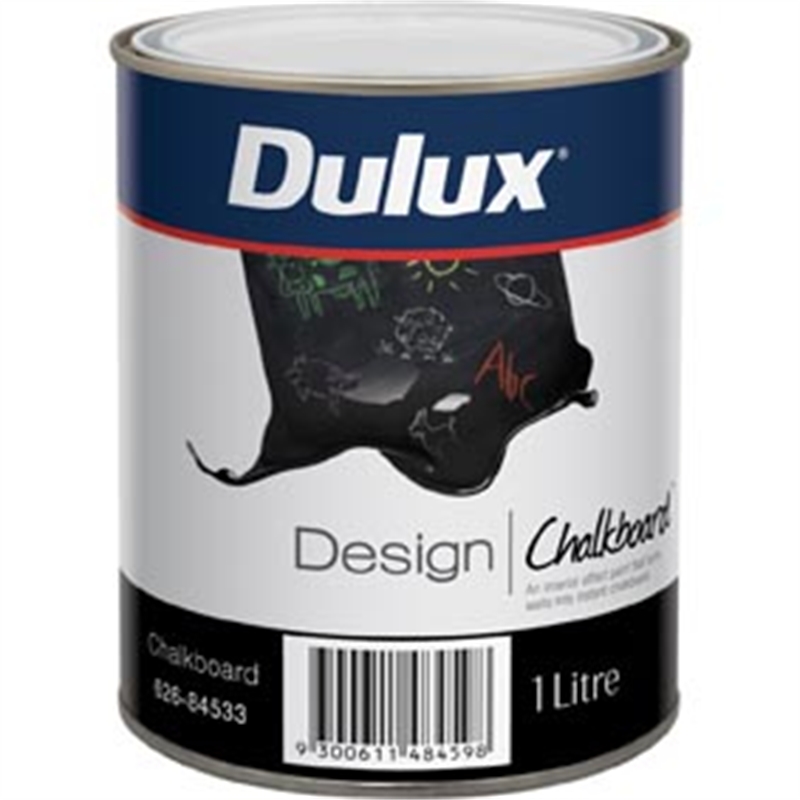
7. Strike out with some colour
Colour shouldn’t be confined to interiors, said colour expert Bree Leech, who suggested jazzing up gates or doorways with a splash of colour or adding interest to your outdoors by painting stripes on a wall, fireplace or retaining wall. “Introducing design elements such as striping or textured paint effects adds sophistication, character and definition to outdoor spaces, ” she said.
And if your outdoor furniture has seen better days, spruce it up with a fresh coat of varnish or paint, Ms Leech said.
Garden Elegance’s Samantha Turner said it was a good time to re-oil timber outdoor furniture and decking to improve its look and protect it for winter.
8. Garden to-do list
Samantha Turner, from Garden Elegance, recommended these jobs:
• Give the backyard a good tidy-up by pruning and trimming back overgrown trees and plants and tidying garden beds.
• Clean out any old bedding plants that have lasted the summer but are now coming to an end.
• Stormproof outdoor areas by removing leaves and debris from drains and gutters.
• Repair and feed tired lawn by aerating it and applying Baileys Lawn Reviver or Dsatco Lawn Maximizer.
9. Make your own vertical garden
Vertical gardens are becoming more and more popular in residential backyards, balconies and courtyards — and for good reason. Simple yet striking, they are the perfect way to have a garden when space is limited. Habitat stylist Pele Findson explains how to create this wood-framed version.
You will need:
• sheet of 1200x600mm raw plywood
• 5 lengths of 2.4m timber
• timber varnish
• 100mm x100mm and 50cm long garden post
• hand saw
• staple gun (a craft staple gun will be sufficient)
• 45mm timber screws
• liquid nails
• drill
• 2m of 1.8m-wide weed cloth
• measuring tape
• 4 25-litre bags of potting mix
• craft knife or scissors
• pencil
• gardening gloves
• plants — we used a mix of herbs, dwarf chilli and lettuce, grass plants such as Frosted Curls, Evero and Evergreen, and potted colour such as orange Gazanias, pink Verbenas and Alyssum Cameo mix
How to:
1. Seal your plywood and timber with two coats of varnish, according to product instructions, and leave to dry.
2. Saw the garden post into four 100mm pieces and position one on each corner of the plywood (in line with the corners). Secure each piece of post to the plywood using two screws and liquid nails.
3. Saw two lengths of timber in half — creating four pieces 1.2m long. Saw another two lengths into quarters — creating eight 60cm lengths. Cut another 60cm length from the final piece of timber.
4. Position the cut edge of the weed cloth down the centre of the plywood lengthwise and staple it in place. Forming a cylindrical sleeping bag shape, take the other edge of the weed cloth and overlap the stapled edge. Staple that edge in place. At the bottom of the frame, fold the cloth inwards to seal the sack and staple in place along the bottom edge of the plywood.
5. Lie the plywood frame on a flat surface and position two of the 1.2m timber lengths on each long side of the plywood, sitting on top of the corner posts secured in step 2. Secure with two screws and liquid nails. Pre-drill holes for the screws to prevent the timber splitting.
6. Position another 1.2m length of timber on each long side of the frame and secure halfway along the corner posts with a screw and some liquid nails. These side pieces will prevent the weed cloth bag from bulging out when filled with soil.
7. Take a 600mm piece of timber and secure with screws and liquid nails in the middle of the bottom of the piece of plywood, parrallel to the corner posts, at the base of the frame (the end that will be facing the ground). This will prevent the weed cloth bag from slipping out when the frame is upright.
8. Secure remaining 600mm timber lengths across the front of the frame — as in the photograph. Use a measuring tape to ensure they are evenly spaced.
9. Lean the frame against a wall so it is upright and fill with potting mix, making sure it is evenly distributed.
9. Lay the frame flat on the ground and, using a craft knife, make incisions where you wish to position your plants. Incisions will need to be big enough to fit the root balls of your plants through.
10. Pop your gardening gloves on, prop one end of the frame up with a brick (for drainage) and start planting. Leave in this flat position for two weeks to let the plants settle in and develop root strength. Water regularly.
TIP: When selecting plants for your vertical garden, pick ones which are low-growing and have similar sunlight and watering requirements.
10. Easy options to update your kitchen and bathroom
Kitchen:
1. Essence Interiors’ Simone Gillespie said replacing door handles and giving cupboards a coat of paint was an easy and cost-friendly way to transform tired cabinetry.
2. Another fast, inexpensive idea was to apply Rust-Oleum Countertop Transformations, a DIY benchtop coating, to a dated benchtop. This would make it look like stone in about three hours, Ms Gillespie said.
3. Add interest to a kitchen by hanging textured wallpaper and adding some art, suggested Wendy Martin, of Excuse Me Miss Indie Interior Styling. “Don’t treat the kitchen like a sterile environment, ” she said. “You spend a lot of time here so make it personal and beautiful.”
Bathroom:
1. Ms Gillespie recommended swapping old towel rails, holders, tapware and cabinets and replacing a dated vanity with a new model. “Instead of a new built-in cabinet or vanity unit, rip the old one out and look at installing a freestanding vanity to fit the space, ” she said.
2. “Tiles can be re-enamelled and sprayed in a new colour with a DIY product but this is only for wall, not floor, tiles, ” Ms Gillespie said.
3. Ms Martin said replacing standard bathroom lighting with a gorgeous pendant or chandelier would completely transform the space.
© The West Australian
More Home and Garden at thewest/lifestyle/home