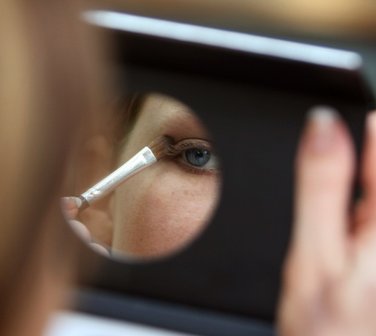
Instant cheekbones
So who wouldn’t love Hollywood bombshell Angelina Jolie’s perfect chiselled cheekbones? Make-up, when applied well, can help you create great cheekbones — but it can be tricky. As with any good recipe, you’ll need the correct ingredients.
Once you have applied your foundation, you are ready to add structure. If you usually finish your foundation off with a powder, try to avoid dusting it on to your cheeks. Instead sweep it through your T-zone which will give you shine protection.
If you find your blush/bronzer tends to separate, it may be caused by layering powder, then liquid, then powder. Instead, put all your cream-based products on first and then a final setting of powder.
When it comes to make-up, always aim to enhance your natural features. Make-up tends to look odd when a shape or structure is created that doesn’t belong. A professional make-up artist can pull this off for a specific photo shoot, however in face-to-face, everyday life, contouring lines that don’t exist is jolting and unattractive. The reason for this is because photographs show us images in 2-D, where as in real life we see everything in 3-D.
So let’s get back to cheekbone structure. To add your structure, you will need to use the angled contouring brush and the taupe contouring tone. Finding the right tone is a little tricky, I often use the taupe/grey shadow from my eyebrow kit as it is the perfect colour to create a shadow. And this is exactly what you’re doing; enhancing the shadows of the face to create depth and dimension.
Sweep your angle brush under your cheekbone, always flowing with the angle of the brush. Work the darkest point on an angle down from the tips of your ear to the corner of your mouth. The line should taper and fade closer to the mouth.
Depending on your face shape you may create a longer contour line if your face is oval shaped or a shorter contour line if your face is square shaped.
Do not make the mistake of blending this away — trust me. You will look at your line and panic, thinking this is way too dark, but rest assured, as long as the contour line tapers and fades it will look amazing.
Next, use your round blush brush and buff bronzer over your contour line, working higher over the cheekbone, blending your bronzer up towards your temples.
You can use your bronzer over the outer corners of your forehead and around the jawline as well to create a more sun-kissed look.
The next product to add, to achieve incredibly chiselled cheekbones, is the illuminator. I prefer to work with a soft, golden tone, but depending on your overall look you can use a bronzing illuminator instead.
Use your buffing brush to sweep illuminator on to the highest points of the cheekbones. This will push the cheekbones higher and give your skin a beautiful, dewy glow.
You can stop here if you are happy with the finished look. Otherwise, if you are a lover of blush, apply a peach lipstick on to the back of your hand and using a buffing brush, sweep this over the apples of your cheeks, fading back towards the tips of your ear.
It’s important you don’t create a layered look — like a Neapolitan ice-cream — on your cheekbones. Instead, create a blend between all your layers.
And there you have it — chiselled cheekbones.
Ingredients for perfect cheekbones
- Matte bronzer
- Liquid or pressed illuminator
- Taupe matte contouring tone
- A good peach lipstick
- Buffing brush
- Angled contouring brush
- Round blush brush
© The West Australian